Nội dung
Giới thiệu
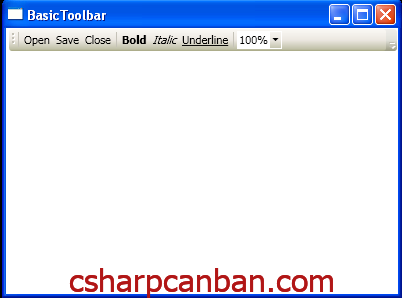
Trong bài hôm nay, csharpcanban.com sẽ hướng dẫn các bạn tạo Toolbar trong WPF. Kết quả sẽ như hình dưới đây:
Xây dựng ứng dụng
Bước 1. Tạo ứng dụng WPF mới.
Bước 2. Chỉnh tệp XAML lại như sau:
<Window x:Class="MenusAndToolbars.BasicToolbar"

    xmlns="http://schemas.microsoft.com/winfx/2006/xaml/presentation"

    xmlns:x="http://schemas.microsoft.com/winfx/2006/xaml"

    Title="BasicToolbar" Height="300" Width="400">

    <Grid>

      <Grid.RowDefinitions>

        <RowDefinition Height="Auto"></RowDefinition>

      </Grid.RowDefinitions>

      <ToolBar>

        <Separator></Separator>

        <Button>Open</Button>

        <Button>Save</Button>

        <Button>Close</Button>

        <Separator></Separator>

        <CheckBox FontWeight="Bold">Bold</CheckBox>

        <CheckBox FontStyle="Italic">Italic</CheckBox>

        <CheckBox>

          <TextBlock TextDecorations="Underline">Underline</TextBlock>

        </CheckBox>

        <Separator></Separator>

        <ComboBox SelectedIndex="0">

          <ComboBoxItem>100%</ComboBoxItem>

          <ComboBoxItem>50%</ComboBoxItem>

          <ComboBoxItem>25%</ComboBoxItem>

        </ComboBox>

      </ToolBar>

    </Grid>

</Window>
Kết luận
Chúc các bạn thành công.